Loading...  # 一、准备安装包 * `mihomo-linux-amd64` * [下载地址](https://github.com/MetaCubeX/mihomo/releases/download/v1.19.15/mihomo-linux-amd64-v1.19.15.gz) * `Country.mmdb` * [下载地址](https://github.com/MetaCubeX/meta-rules-dat/releases/latest/download/Country.mmdb) * `yacd.tar.xz` * [下载地址](https://github.com/haishanh/yacd/releases/latest/download/yacd.tar.xz) # 二、安装 ## 2.1 安装 `clash应用程序` ```bash gzip -d mihomo-linux-amd64-v1.19.15.gz mv mihomo-linux-amd64-v1.19.15 clash chmod +x clash ``` 将 `Country.mmdb`和 `config.yaml`放到 `clash`同级目录下; ## 2.2 安装面板文件 ```bash mkdir -p ui tar -xf yacd.tar.xz -C ui ``` 最终目录结构如下: ## 2.2 修改配置文件 `clash/config.yaml` ```yaml port: 7890 socks-port: 7891 allow-lan: true # 控制面板端口 external-controller: 0.0.0.0:9090 secret: "yourStrongPassword" # 挂载 UI 文件目录(见后续) external-ui: ./ui/public # 启动默认分组(示例) mode: Rule log-level: info ``` # 三、启动 ```bash cd ~/clash nohup ./clash -d . > clash.log 2>&1 & # 查看运行状态: tail -f clash.log # 出现类似: RESTful API listening at: 0.0.0.0:9090 Serving UI: /home/ubuntu/clash/ui/public MMDB loaded 即运行成功 ``` 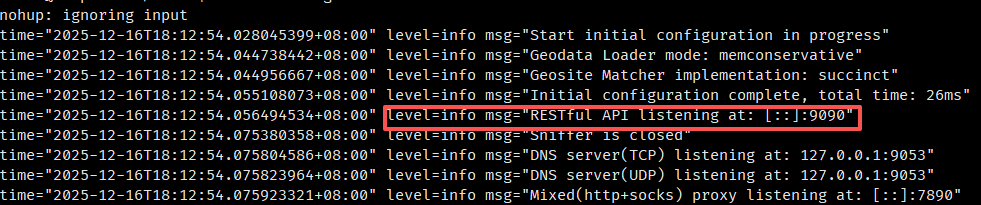 # 四、面板设置 浏览器打开:`http://localhost:9090/ui` 首次进入若提示连接秘钥,输入秘钥即可; # 五、设置环境变量 * 临时设置 ```bash export http_proxy="http://127.0.0.1:7890" export https_proxy="http://127.0.0.1:7890" ``` * 永久设置 ```bash echo 'export http_proxy=http://127.0.0.1:7890' >> ~/.bashrc echo 'export https_proxy=http://127.0.0.1:7890' >> ~/.bashrc source ~/.bashrc ``` * 取消环境设置 ```bash unset http_proxy unset https_proxy unset HTTP_PROXY unset HTTPS_PROXY ``` # 六 验证 ```bash curl -I https://api.openai.com/v1/models # 若返回 200 OK → 代理成功 ```  最后修改:2026 年 01 月 04 日 © 允许规范转载 打赏 赞赏作者 支付宝微信 赞 如果觉得我的文章对你有用,请随意赞赏
